Last Updated on 2 years ago by Gülenber Han
The human brain can only analyze visuals in 13 milliseconds, so you don’t have much time to make a strong first impression on your consumers. What customers see frequently determines whether they will stay on your site or leave, so you must spend on creating an online store that attracts their attention and keeps them interested. Great product photography is one of the most effective methods to do this.
If a picture is worth a thousand words, a great product image is worth a thousand website views. Product photography may be highly helpful to your eCommerce website strategy, even if I don’t have evidence to back it up. At this stage, you can use the following product photography tips and get support from a performance marketing agency.
What Do You Need?
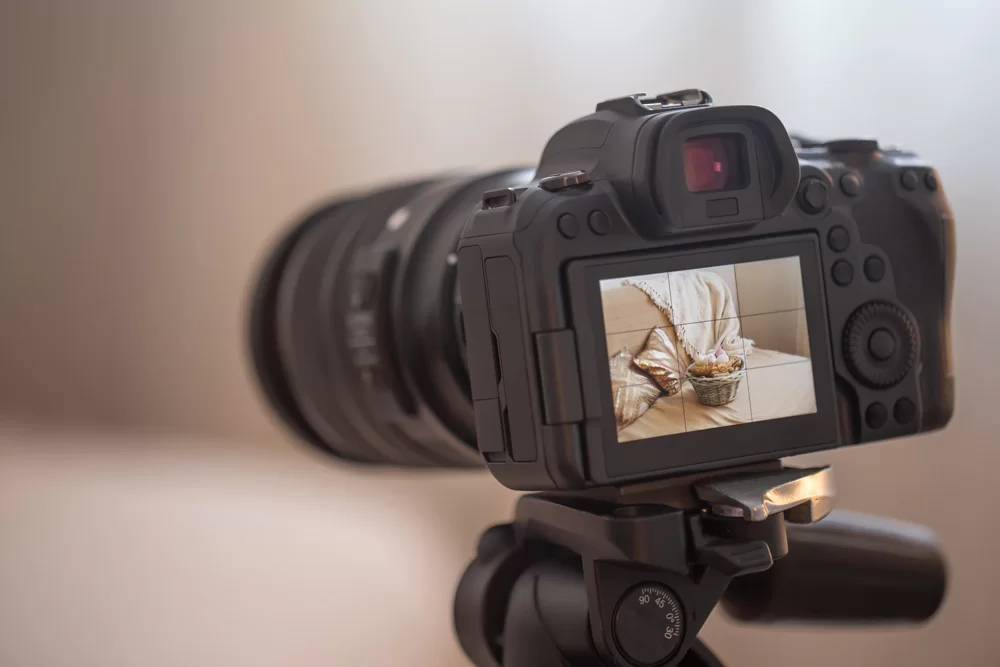
Many new photographers consider product photography to be tedious. However, if done correctly, it can be pretty exhilarating. When it comes to still-life photography, you may get incredibly creative, but you need to know how to make them sparkle. We’ll start with the fundamentals before moving on to some crucial pointers that every newbie should be aware of. They’ll assist you in becoming a pro in no time.
Camera
It’s fantastic if you have a professional camera. However, you’d be astonished at how much you can shoot with a smartphone, both still photos, and video. It should be adequate to give high-quality photographs with gorgeous detail if it’s a contemporary model with autofocus and a large number of megapixels (8+).
Tripod
Because hand-held cameras risk blurry images, it’s better to use a tripod, which doesn’t have to be expensive. A tripod, or three-legged stand, is an adjustable three-legged stand on which you may attach your phone or camera. Consider the size and height before ordering so that it is appropriate for your product and desired shooting location. If you’re using a smartphone, make sure the ‘head’ is equipped with a mobile grip. Consider a pocket tripod for little items so you can get up close and personal.
A tripod is required so that no product photos are blurred. Stabilizing your camera with this easy technique can help you maintain uniformity and focus at all times, ensuring that all of your clients are satisfied.
Most tripods are inexpensive, so you won’t have to worry about blowing your budget. If you’re on a low budget, though, you may prop your camera up atop a stack of books, for example. After all, the goal is to keep the camera from moving.
White Background
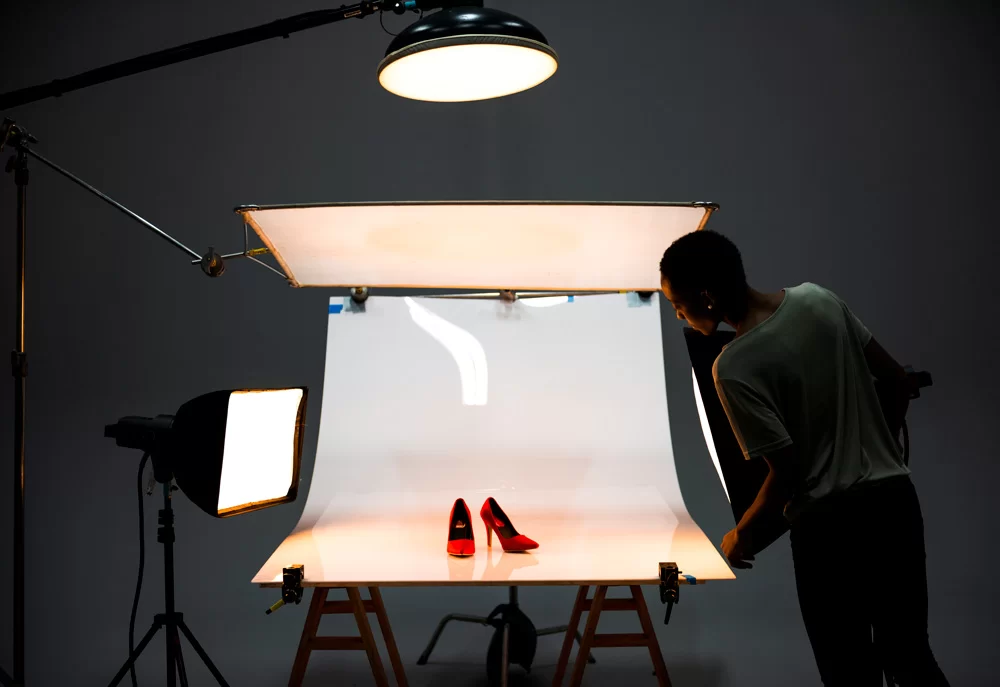
There are several possibilities for a white backdrop, and if you’re going to be shooting a lot, a white sweep could be worth buying. You can prefer a paper sweep since the filthy section of the sweep may be cut off and a new one rolled down. However, it’s not as simple as placing up a table against white drywall for white backdrops. Even smartphone cameras may pick up little flaws on a white wall that the naked eye would miss. Use a sweep to get a pure white backdrop with no edges or flaws.
A sweep is a huge flexible piece of paper that functions as a surface beneath your goods at the bottom and then curls up into a white wall behind it. The sweep’s curvature is undetectable on camera, accentuating crucial product characteristics and allowing the item to command the whole focus of a website visitor.
Light
In general, lighting is the most crucial aspect of photography. Perfect lighting is also effortless for product photography. The images you take will be seen by hundreds of thousands, if not millions, of people, thus the items must be visible.
Natural and artificial light are the two primary options. Natural light makes sense if you’re photographing people or if your product is meant to be used outside.
Artificial light, on the other hand, is ideal for novices since it allows you significantly more control. Rather than depending on the flash, continuous light–such as a strong lamp you could have at home–allows you to easily adjust the light to your perfect settings. A predefined lighting condition ensures consistency from shot to shot, allowing for dramatic shadows, defining forms, and product detail to be adjusted. Make sure there’s a light aimed at every side of the merchandise for the finest studio lighting. No shadows will come in the way of a flawless photo this way.
Just make sure that the sidelights are aimed at the backdrop rather than the product itself. You don’t want your goods to blend in with the background. Use a diffuser to reduce overexposure when shooting in the studio.
How to Take Professional Product Photos?
The field of photography is fascinating, and as technology advances, it is becoming more and more accessible. Anyone with a smartphone may technically be a photographer; whether you want to be a ‘good’ photographer is entirely up to you.
Product photography is in high demand across the world because they must be well-rounded, imaginative, and technically adept. To put it another way, they know what they’re doing.
Here are some tips and tactics to learn from professional photographers for those of you who are just getting started with product photography or want to improve your photography talents.
Prepare the Table
It’s time to set up your shooting location once you’ve gathered all of your equipment. Place your table as near to the window as feasible without crossing the windowsill’s shadow. Starting with the window 90 degrees to the right or left of your setup is a good place to start. The softer the light will be the closer you are to the window and the larger the window.
Remember to turn off any other lights in the room where you’re filming, since this will contaminate the set. This is a crucial point and the most typical blunder. For a different sort of natural lighting, rotate the set so the window is at a 45-degree angle to the set, or try it with the window directly onto the set. For a more dramatic impact, food photography is frequently photographed with a window behind the setup and the camera shooting into the window. Another option is to install it in a garage with the door open – the light will be similar to that of a window without glass.
Direct sunlight should not be allowed to fall on your set. Direct sunlight is harsh and detracts from the appearance of most persons and things.
Set up your Product
It’s finally time to put your product in the spotlight. Setting up your goods may appear straightforward, but getting the angle, lighting, and location just perfect might take a few tries.
Make sure your object is centered and on a level, sturdy surface, such as a table or chair, before placing it in front of the background.
For items such as jewelry and other accessories that better accentuate the item, you may want to use the bust, and for items with tags or unusual designs, you may need to spend some time moving the item around until you can perfectly center it.
Adjust your Camera
Every camera is unique in its way. Some cameras are automatic, while others allow for manual adjustments. The beauty of this Window Light configuration is that if you have to, you can leave all camera settings on auto and it will still function.
- Make sure your white balance (WB) is set to Auto.
- Turn off the flash on your camera.
- Set your image quality to the greatest level possible.
Although most point-and-shoot cameras lack a raw mode, if yours does, make use of it. Raw is the biggest file that a camera can shoot, and it takes advantage of the camera’s full bit depth. However, you’ll need to edit with a program that can read raw images, such as Photoshop.
Set it to the biggest JPG setting if you don’t have a raw setting. There are two settings on my Canon that you should be aware of:
- Size: L (Large), M (Medium), or S (Small) are sometimes used (Small). Choose a large size. This setting sets the file size, and for the best image quality, you nearly always want to shoot it at the highest size. You can always reduce the size of a photograph after it’s been taken, but you can’t increase it.
- Quality: S (Superfine), F (Fine), and N (Normal) (Normal). Set it to Superfine at all times. The amount of pixels used on the camera sensor is determined by this parameter. A lower-quality image will result from not employing all of the available pixels.
Your ISO should be set at 100. The sensor’s sensitivity is controlled by the ISO. The greater the ISO you use, the more noise you’ll get. If you can, set your camera to ISO 100, which is usually the lowest ISO you can use.
Take Photo
Take some time after you’ve taken the photo to properly look at what you’ve made. That’s where your knowledge and expertise come in – what works, what doesn’t, and what you can do to improve things. Experiment with numerous approaches to improve your image, and your abilities will organically develop with time. To get a better sense of how your photographs will look, upload them to your computer.
Retouch
Even if you think every product shot is perfect, you still need to adjust them a bit. You can make them look cool with image editing tools. You will give them a shiny, perfect look that will make each item stand out.
You may eliminate shadows, tone colors, and completely erase backgrounds, among other things. If you employ mannequins and busts to better capture clothing and jewels, you may also remove them. You can make as many changes as you like, but don’t go overboard. Products should look natural as if they were right in front of your eyes. You may utilize a variety of picture editing software. Look for a gadget with a simple interface that you can get used to fast.
Optimize for Website and SEO
For all online retailers, search engine optimization is critical. One factor to consider is the speed with which your eCommerce website loads and huge graphics might make this difficult. The balance between picture quality and optimization is important, because over-optimization may damage the image.
The first step in optimizing your image is to reduce its height and width. When you look at an image on a website, you’re looking at an HTML container with an image that has been dynamically resized to fit within it. If the container on my website is 648 pixels square and the picture it references is 1500 pixels square, the container will be shown at 648 pixels, but the image it references will still load at 1500 pixels. That’s a significant amount of additional load time, especially if you have a lot of photographs.


